
Students in third and fourth grade classes worked collaboratively to paint branches using analogous and complementary color schemes.
Supplies:
- Tempera paint
- Big and small brushes
- 6 or more branches
- Dental floss
- Binder clips or small metal hook
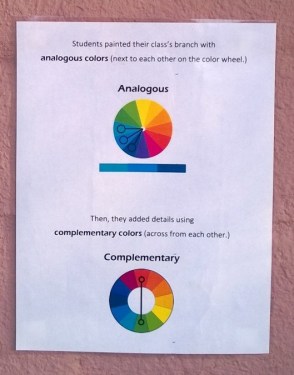
Downloadable Sign: Color Theory
Downloadable PowerPoint: Collaborative Branches
Every quarter I get to collaborate with the Music and GT teacher to put on a Showcase for our students. I let my students choose two pieces of artwork from their portfolio, they help me mat it and we hang it in the hallways for a week.

I like to have a collaborative project that changes every quarter. I use the same curriculum each quarter, so having a project that changes helps to break up the monotony of teaching the same assignments again and again. And it means there is a surprise installation that the school gets to look forward to each Showcase.

Last quarter, I made a center for two Fridays in a row where the students worked together to create a branch as a class. Instead of introducing an artist, we spent the beginning of class talking about color theory. The first week, we talked about analogous colors, and they painted the base layer. The second week, we talked about complementary colors and they added dots and lines to their branch. (I compared the dots and lines to sprinkles on a cake, so that the base color would still show through.)
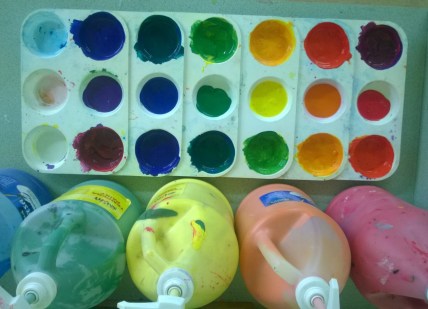
I was able to find 6 branches to use by walking around the yard outside our school. The biggest prep component was mixing up the analogous colors for the first day. I mixed the whole set and then covered them with empty trays so they wouldn’t dry out. If you have more time or older students, you could have them mix the colors.
I learned from the first class to give the students separate brushes for each color. The water thinned out the tempera paint so much that it lost it’s vibrancy.
I displayed them two different ways. For the Showcase, I tied dental floss (that stuff is an amazing, cheap way to hang art!) to each branch and used a binder clip to hang them from an outside ledge. Then, I retired them to a blank wall by the GT teacher’s room by tying all of them dental floss together and using and looping it over a metal hook. Displaying them as group definitely made a stronger visual statement. (Spreading them out made them stand out less.)
I hung up a laminated sign that explained how the students had used color theory. I hope that as students and teachers walk by, they will get to learn something new also!

This was such a fun project to do, and an exciting way to introduce my 3rd and 4th graders to color theory. I love how the branches look in the outdoor spaces that we displayed them. I couldn’t have done the hanging part without help from the music teacher, so I highly recommend asking someone to assist you!
