Supplies:
- Button maker and parts
- Sketch paper with button sizes
- Linoleum
- Carving tools
- Block printing paper
- Water-based printing ink
- Brayers
- Spray bottles (I used old body spray bottles, they mist instead of spray)
- Mirror or glass to roll ink onto
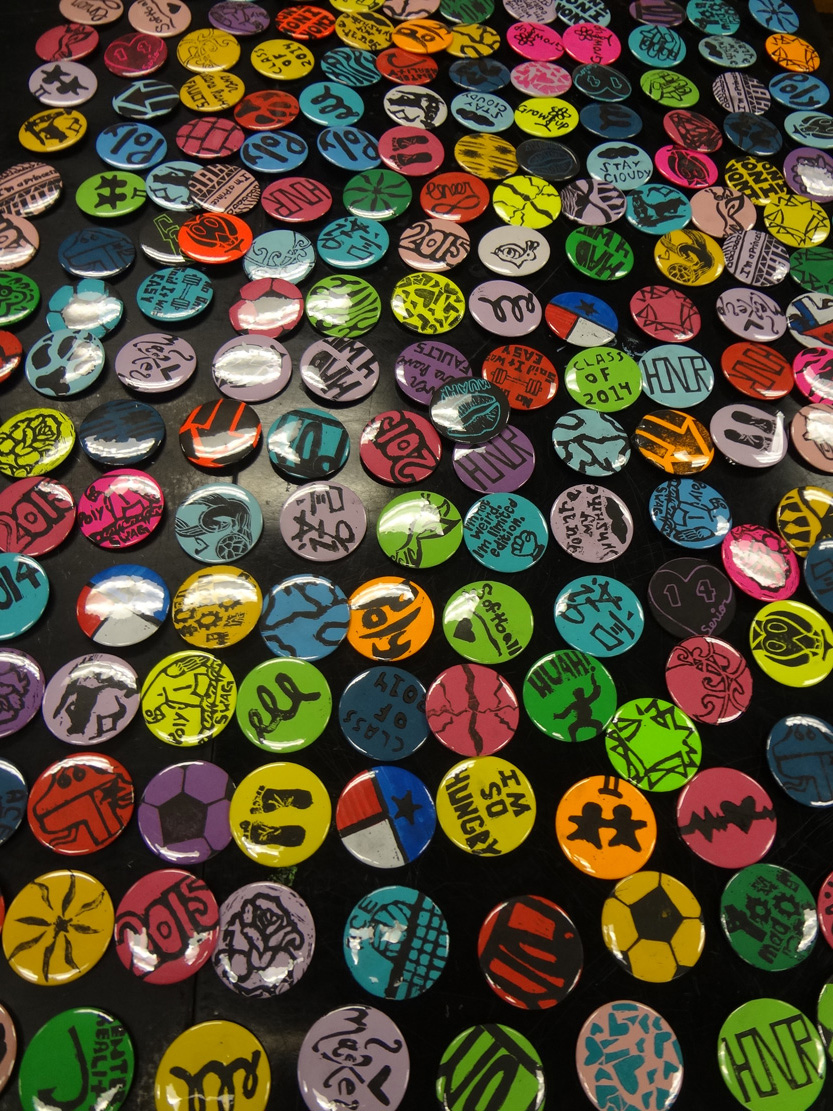
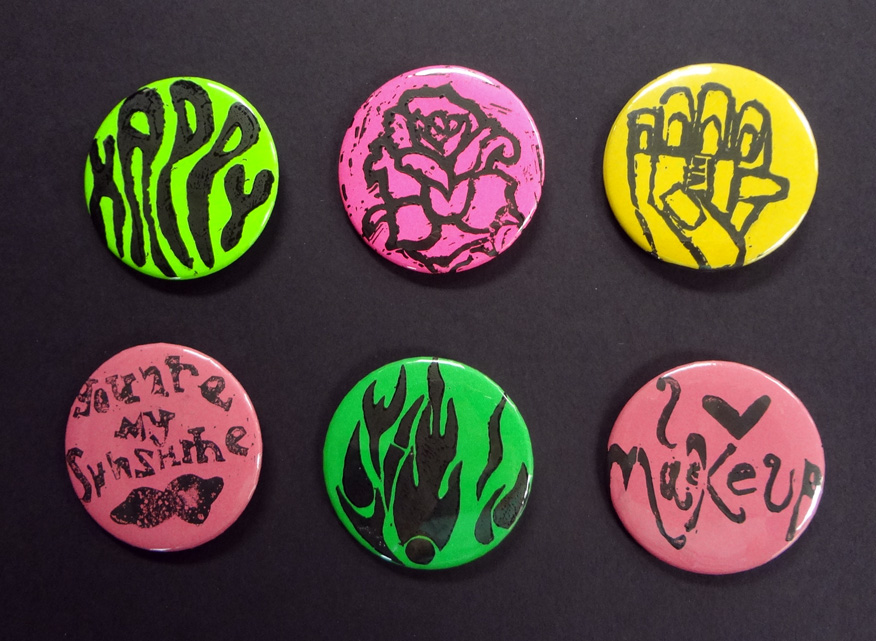
When an art teacher who also works at my high school told me about this project, I knew it was a perfect fit for the concept of Contrast. She was able to get a button maker donated to the school through Donors Choose. The students make a linocut that they can print multiple times. We turn those prints into buttons and sell them as a fundraiser for the Art Department.
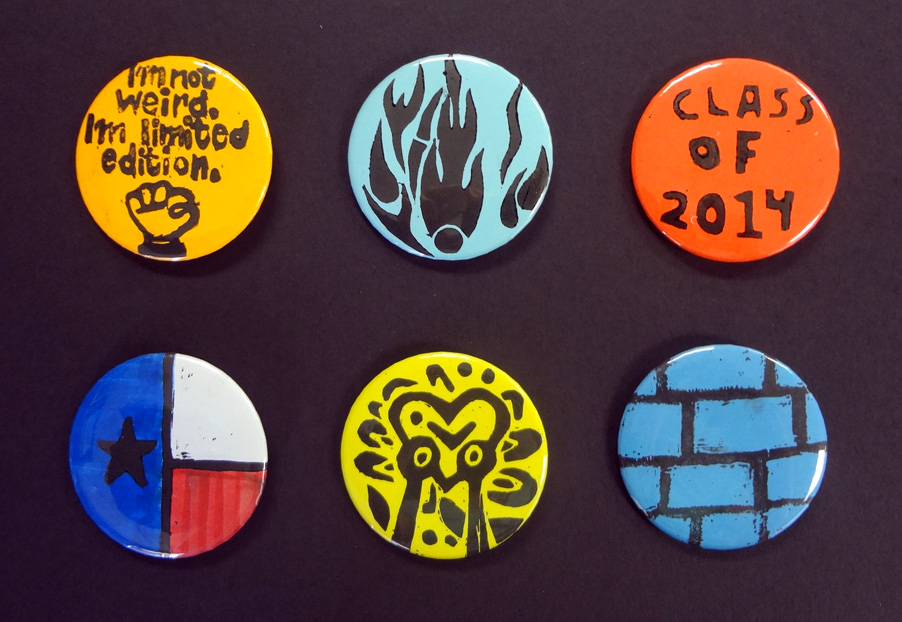
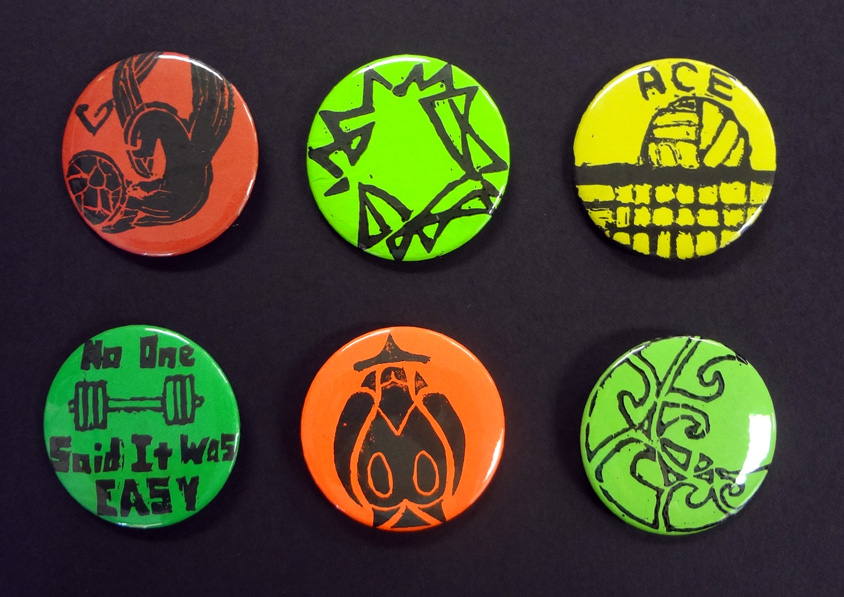
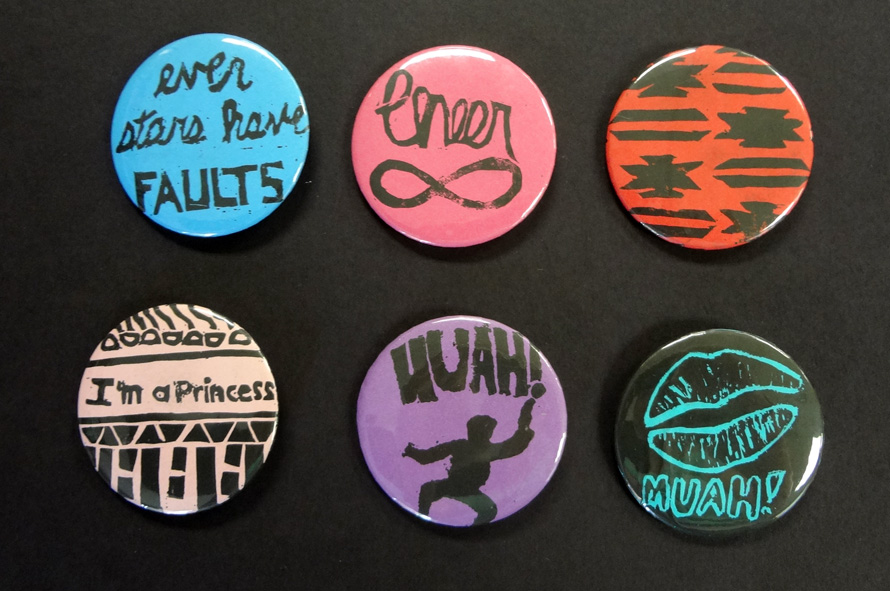
When the students are sketching their design, I ask them to think of something that represents who they are or what they love. Copyrighted images are always off-limits in my class, but I emphasized that because we were selling the buttons, it would have to be their own design.
I gave them a sketch paper that had several circles that they could draw in. Each circle had a smaller circle in the middle, which was the part of the design that would show on the button. After sketching 3-6 designs, they picked their favorite. If the design had words or number on it, it was very important that they use a lightbox or window to trace their design backwards. If the design was carved into the linoleum backwards, then it would print forwards.
After they had chosen their design, they could choose between re-drawing it onto the linoleum with pen (pencil will scratch the surface and leave a mark) or doing a carbon copy transfer by shading the back of the sketch and taping it to the linoleum. When they traced over the design, it would show up lightly on the linoleum. I had them redraw over it with pen, so that it wouldn’t wipe off while they were carving.
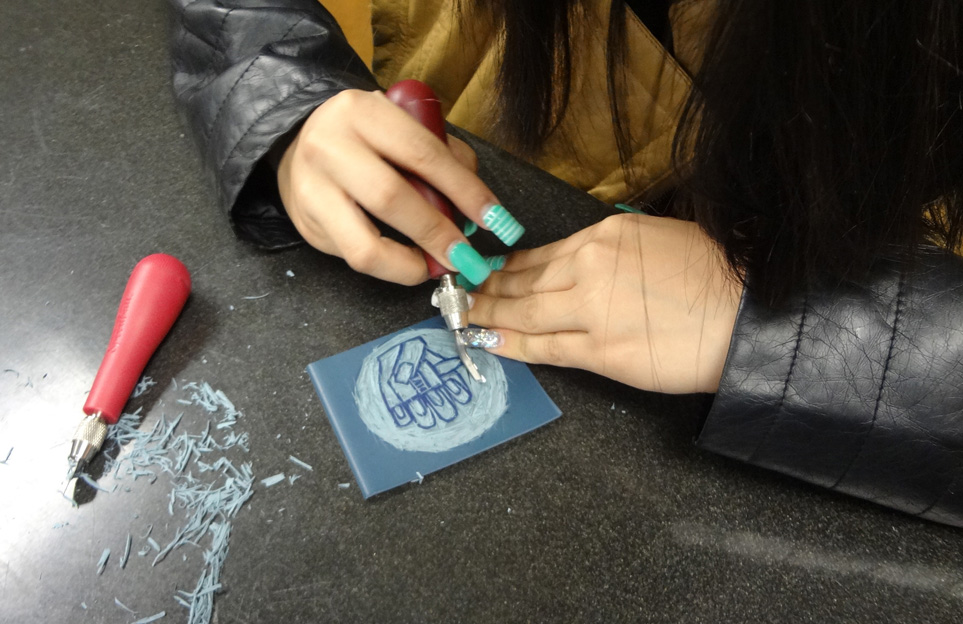
I cut up small pieces of linoleum from the wall borders you can buy at a hardware store. Before they started carving I did a demonstration and explained how to carve safely. (Carve away from your body!) They carved out all of the areas that were the background space, leaving only their design. I had a small number of students who really struggled with carving or came into the project several days late. I gave them a thin piece of Styrofoam to create their print. Instead of using carving tools, the could “carve” by just pressing down hard with a pen.

Printing their design was the exciting part! I had them each do a practice print on scrap paper to make sure they were happy with their carving. If they saw parts that they missed, they could carve them out before printing their final images. I showed them how to mist their paper so that the ink would print evenly. Out of the six images, each student chose their favorite one, which I made into a button for them to keep. We will sell the five other buttons for our fundraiser!